


Before integrating between the Reseller Marketplace and Dynamics 365 Business Central, we recommend you get acquainted with the following terms and procedures.
Steps to Get Started
The following main steps a reseller needs to do to get started with the Dynamics 365 Business Central integration:
- Set up Dynamics 365 Business Central integration: At this step, you need to log in and integrate Dynamics 365 Business Central with Reseller Marketplace.
- Synchronize: Now, you need to synchronize orders and subscriptions between Reseller Marketplace and Dynamics 365 Business Central.
Important: Several subscriptions can be synchronized with one invoice, one subscription cannot be synchronized with several invoices
About Mappings
To ensure that there are no mismatches, and all changes in Reseller Marketplace are synchronized with Dynamics 365 Business Central, the objects in both systems must be mapped. That is, Reseller Marketplace Product Catalog, Customer Catalog, Order and Subscription must be mapped with the respective Dynamics 365 Business Central objects: Products and Services, Customers, and Sales invoices

There are three ways to map your customers between Reseller Marketplace and Dynamics 365 Business Central, and two ways to map your products between Reseller Marketplace and Dynamics 365 Business Central. Orders and subscriptions are mapped during the subscription synchronization process.
Configuring Dynamics 365 Business Central Integration
To integrate Dynamics 365 Business Central with Reseller Marketplace, complete the following steps:
- In your UX1 for Resellers, click Integrations.

- Click Get Native Integrations. You will be redirected to the Marketplace Apps for Resellers.
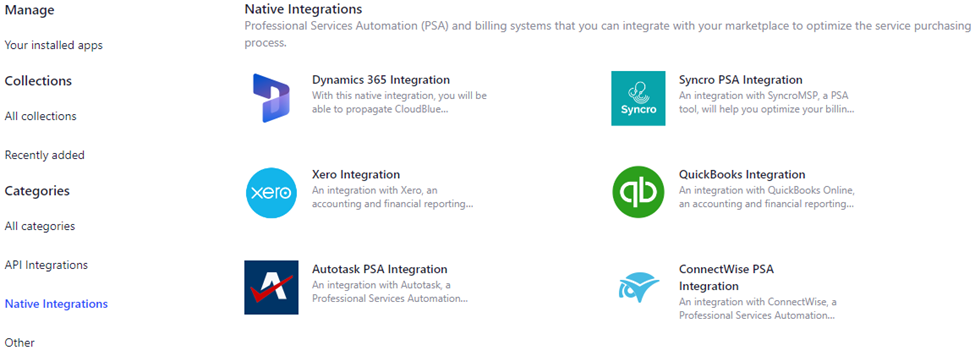
- Click Dynamics 365 Integration.

- In the pop-up window that displays, click Install now.
- In the Settings window, specify:
- Connection settings, that include the following information:
- Tenant (Directory) ID or domain name.
- Client (Application) ID.
- Client secret.
- Connection settings, that include the following information:
Note: These parameters you obtain during registration of the Dynamics 365 Business Central application in Azure AD.
- Environment name. The environment name from Dynamics 365 Business Central.
- Company name. Name of the company from Dynamics 365 Business Central.
- Whether to load prices and their descriptions from Dynamics 365 Business Central or Reseller Marketplace by default.
- Whether to automatically create and process synchronization tasks. You can select from two check frequency options: once per day or once every 5 minutes.
- Whether to sync refunds on downgrades or sync only resource quantity changes.
- Which events you want to track and be notified of: when errors and actions required from you only, or all tasks. These notifications are displayed in pop-up messages and the Action Log.
- Whether to synchronize new or existing invoices.
- New Invoice: Each order will create a new invoice in Dynamics 365 Business Central.
- Existing Invoice: The order will be synchronized to the latest invoice, for that customer.
Note: You can access these settings later by clicking the gear icon on the dashboard and selecting Settings.

